Stadtwerke part 2

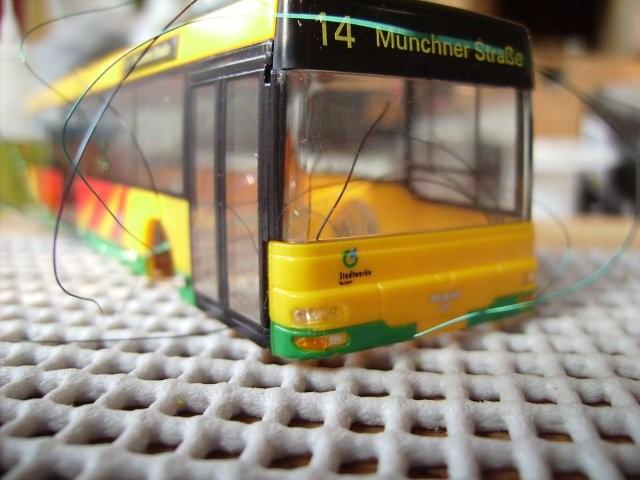
The second part of the building report of the Stadtwerke bus. In the previous part I described the lights, this time the mechanics.

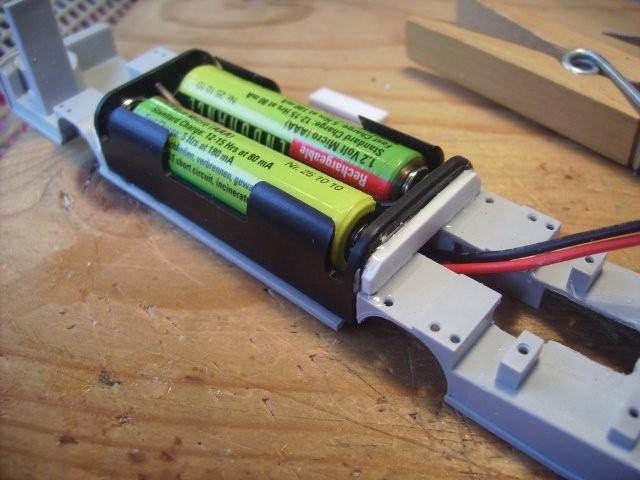
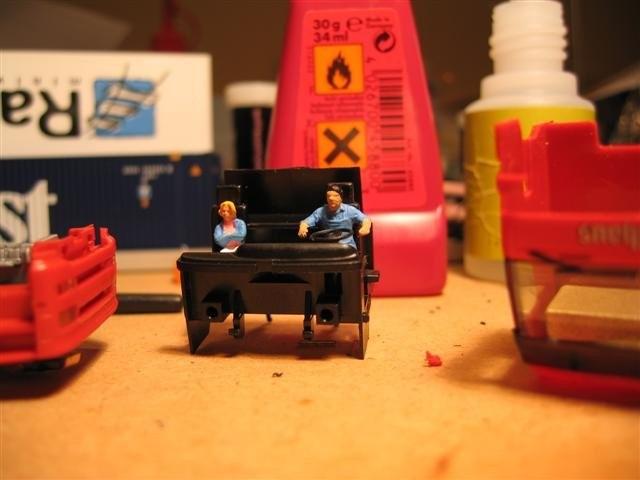
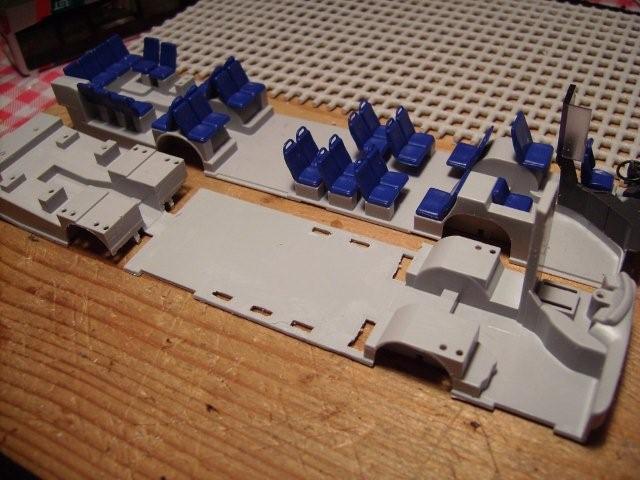
The floor of a Rietze bus is prepared to make room for the battery holder. The chair stands are cut of with a knife. In the end some of the chairs will be but back including some passengers.

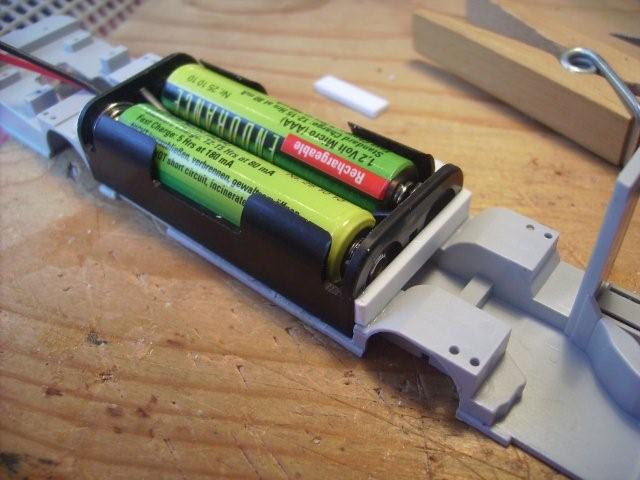
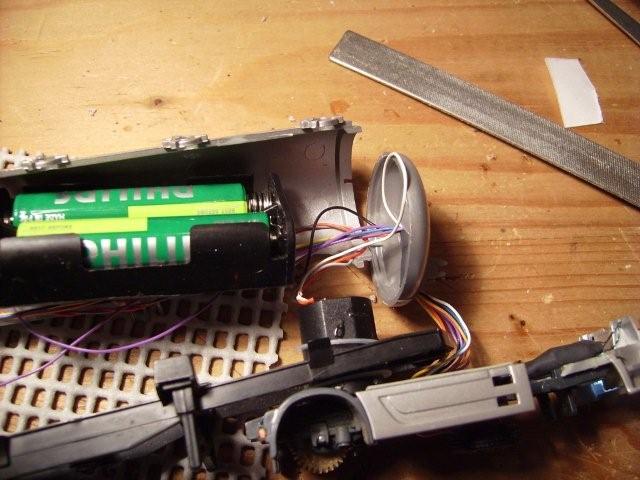
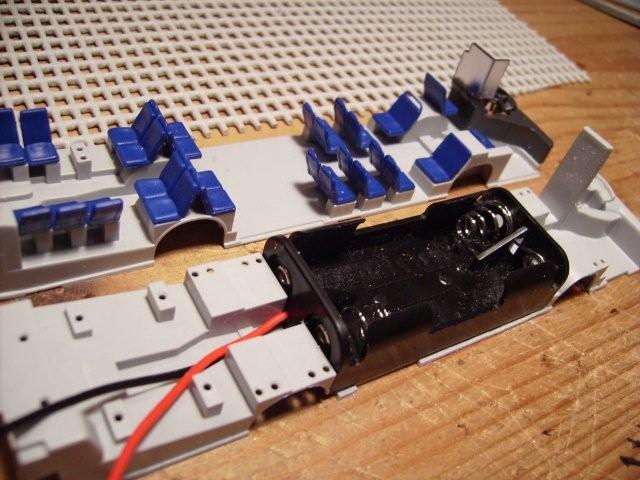
A nice fit. This is a double AAA holder. You will have to do some searching to find this at a reasonable price. I have seen prices up to € 4,50. This one costs € 0,35.

The holder does not hold very well with glue. I needed two extra strips to get some structural strength. I also sanded the bottom of the holder. It was not not completely flat.

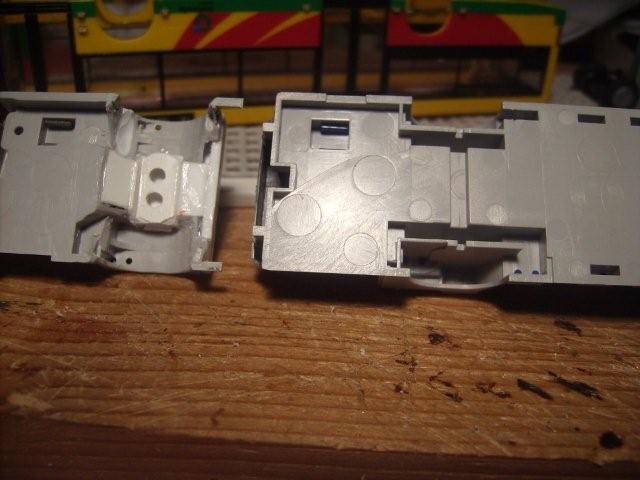
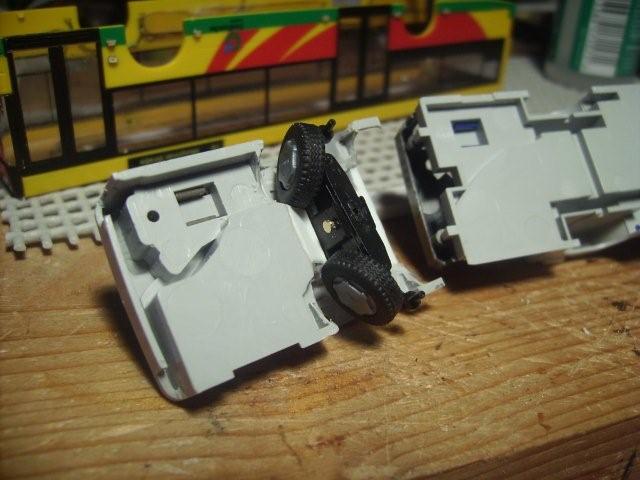
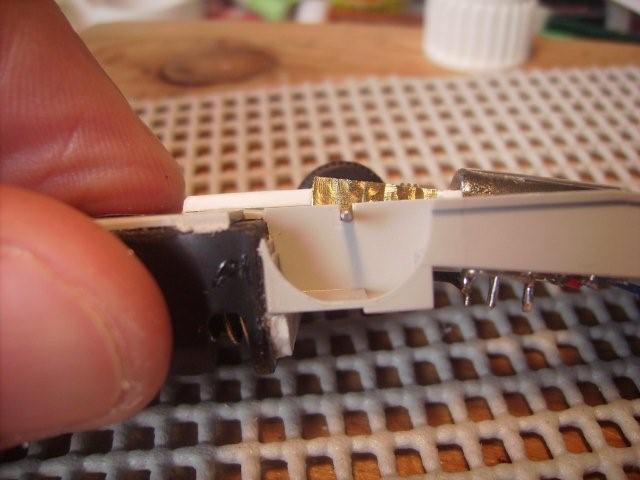
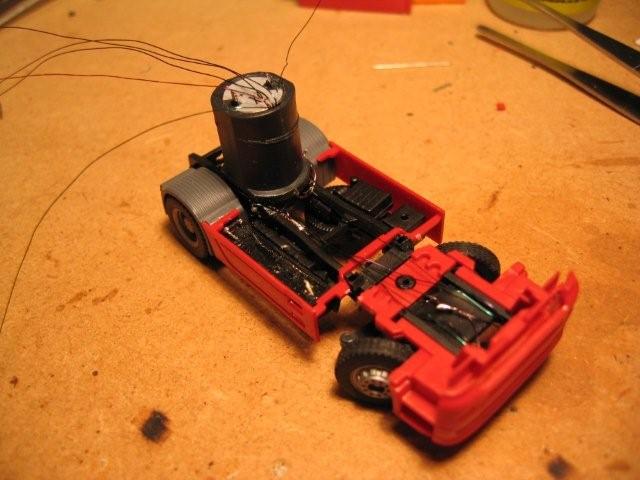
Next was the steering mechanism. This is a difficult job. It takes a lot of time to rebuild a support structure. The extra room needed for the steering arm got me into trouble. The floor is not in two pieces. In the end I decided to glue the front to the cover, the back end is removable.

See the extra room you will need for the steering wheels.

It is very important to get the wheels exactly on the same place as they used to be with the static axle. This is why I leave the original support. Later I made some extra room to prevent friction.

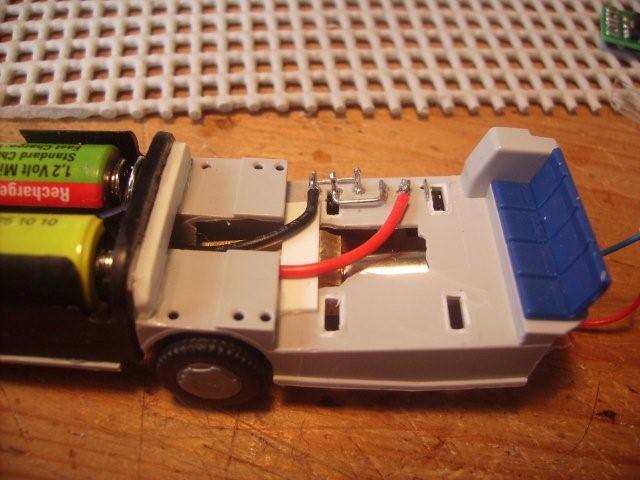
Here you can see the charger plug and the micro switch.

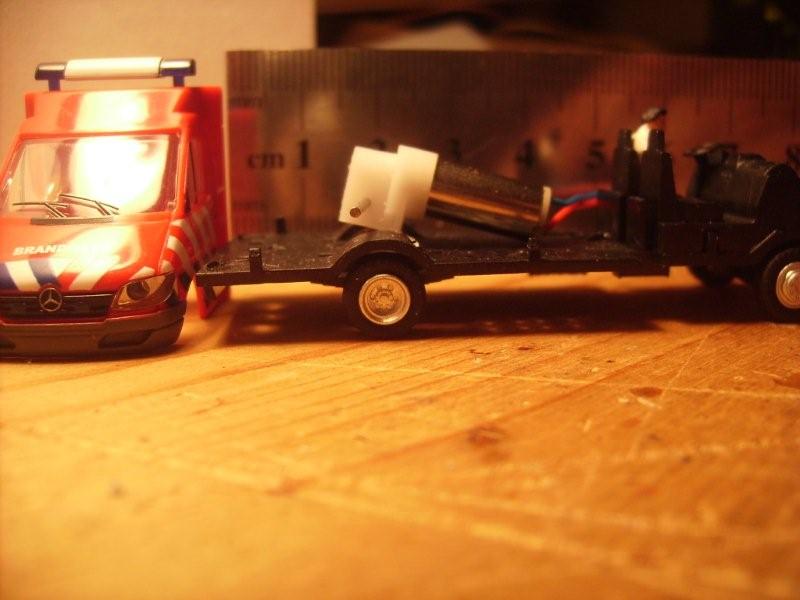
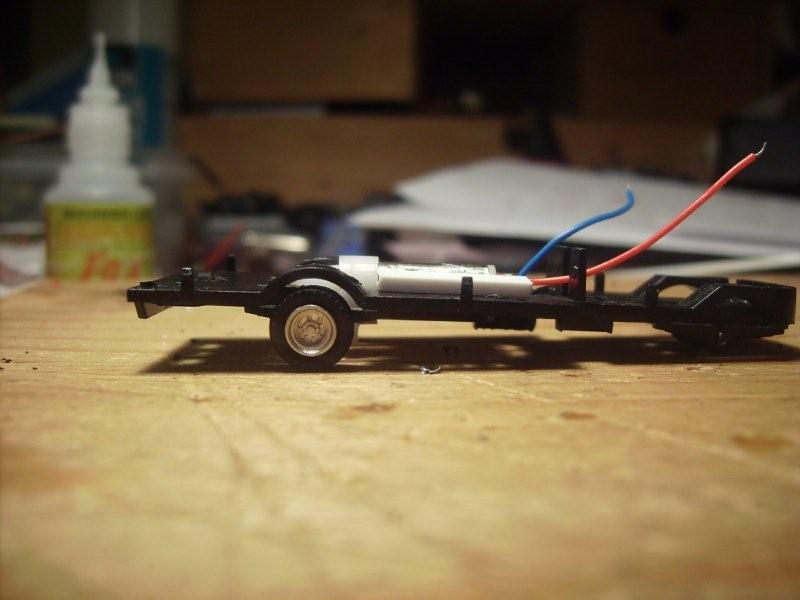
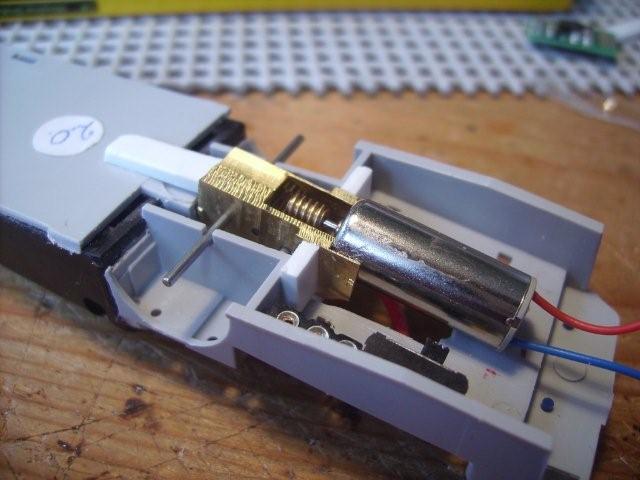
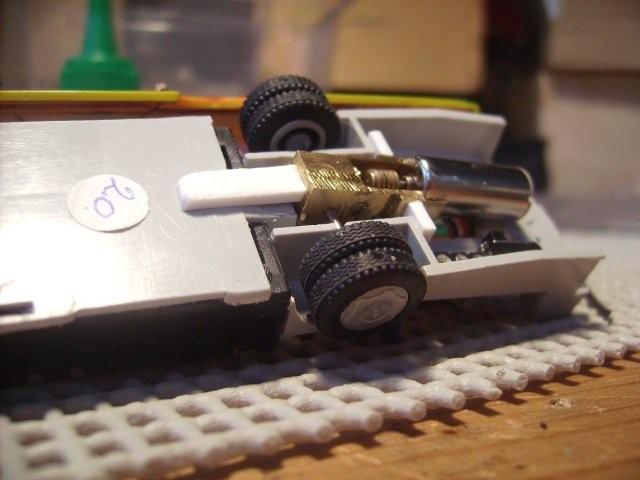
Just checking if the gear and motor will not hit the ground.

Extra support on the front

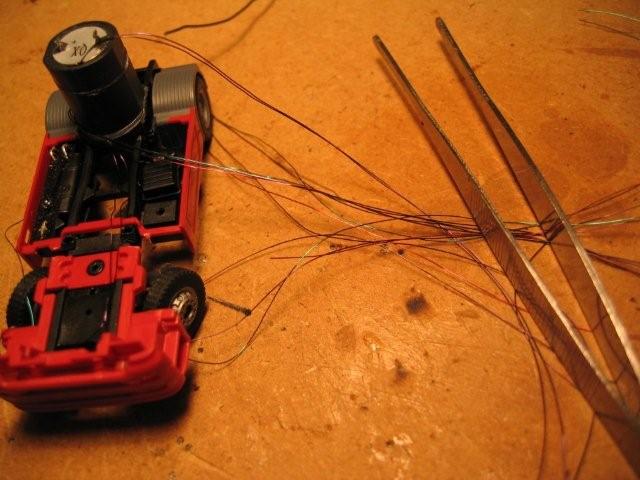
batteries are connected to the charger plug and micro switch. First three are for charging. The connections are earth, plus, earth. It does not matter how you connect the charger, it cannot be polarised wrongly. The send three are from the switch. if in the left postition it connects the battery to the charger, in the right position it connects the battery to the decoder. There is no way to connect the charger to the decoder. Remember the Geest #3 truck?

A second precaution is to add a small fuse in between the red wire and the switch. This is not done in this bus.
If  you look for a fuse, remember that i should allow for charging too. In my case you will need at least a 1000 mA fuse.

The decoder will be in this same spot too. All the cables from the cover end up here too.

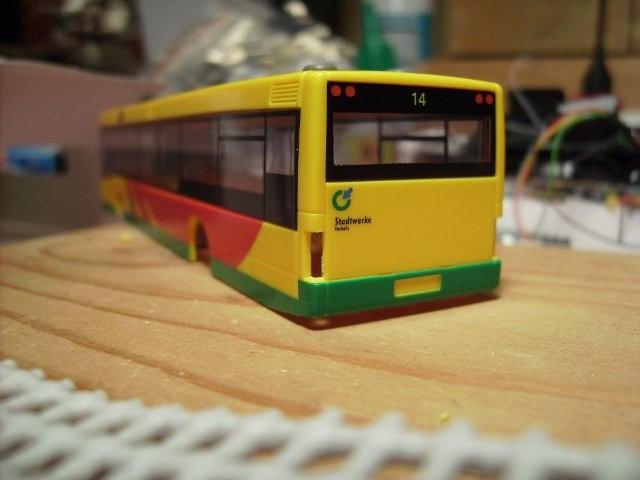
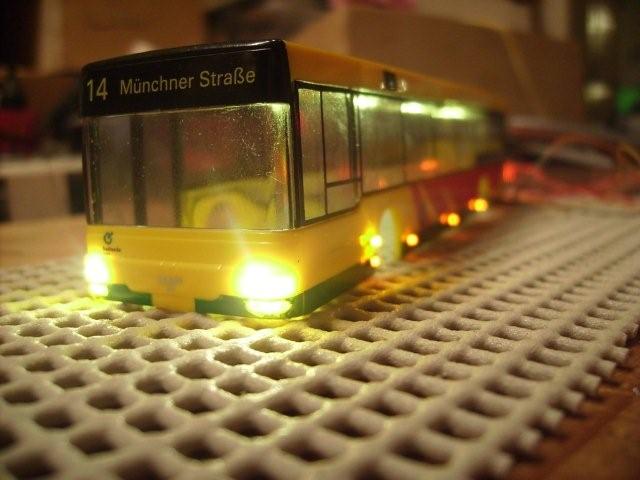
The result

Stadtwerke part 1

This time a report about a bus I build in commission for a MCC enthousiast. He wanted two buses, this is the first. I have writen about this one before. This is the bus with the very difficult motor from SolExpert.

The original chassis was a Rietze “MAN NL Stadtwerke Verkehr”. This is a static model. I had to make room for the motor, add batteries and a steering mechanism. Watch and learn!

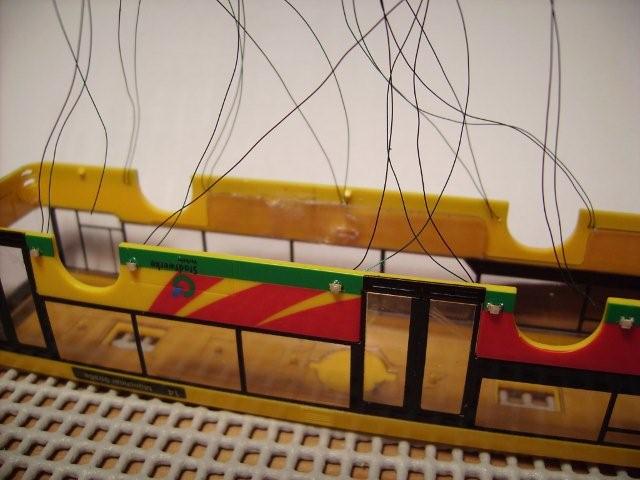
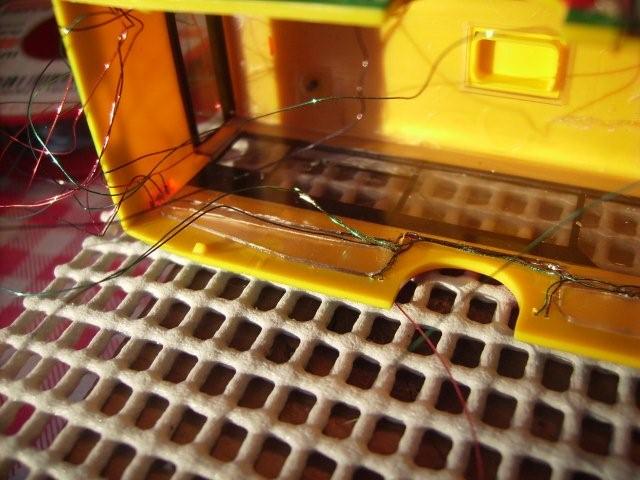
First action is to take out the plastic covers and moke some more room for the LED’s. The covers are glued back in there original places before placing the LED’s behind them.

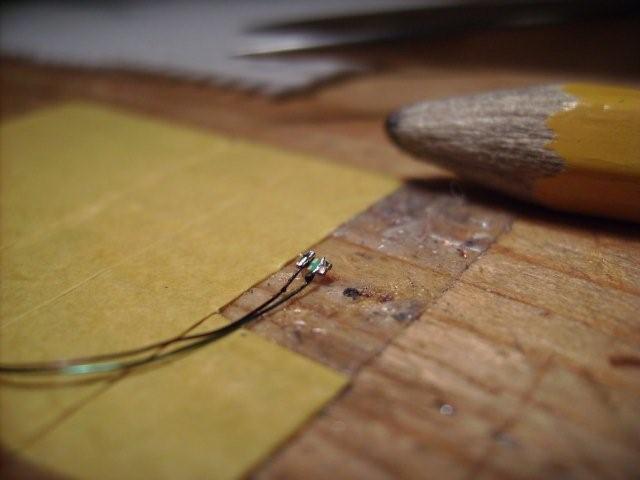
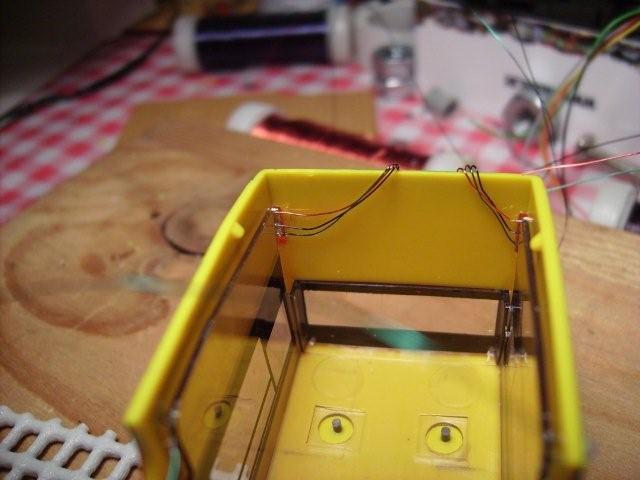
remember how smal the 0603 LED’s are? This is a orange one for the side of the bus. I had to make 10 of them.

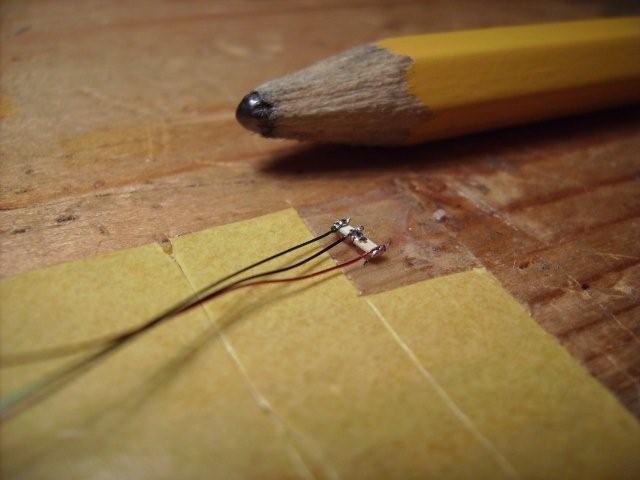
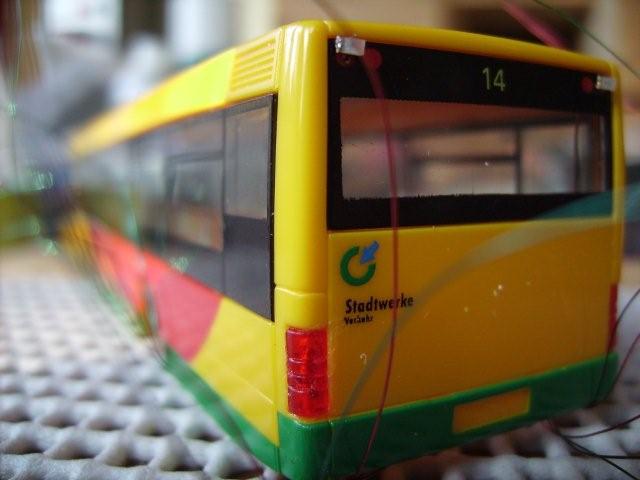
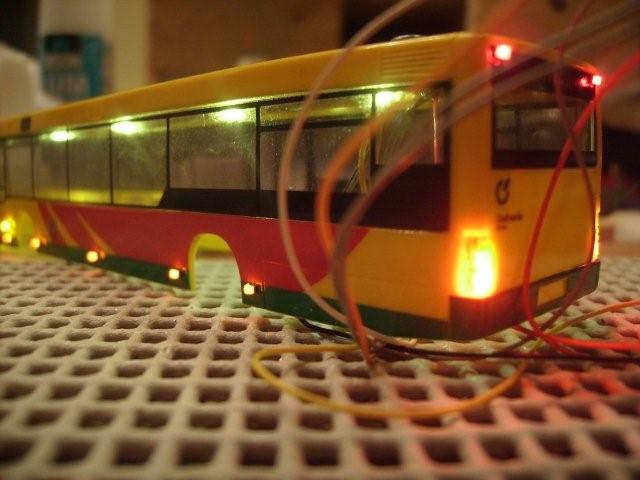
The tail lights are combined with the indicator. This saves one wire. In the middle is the common kathode.

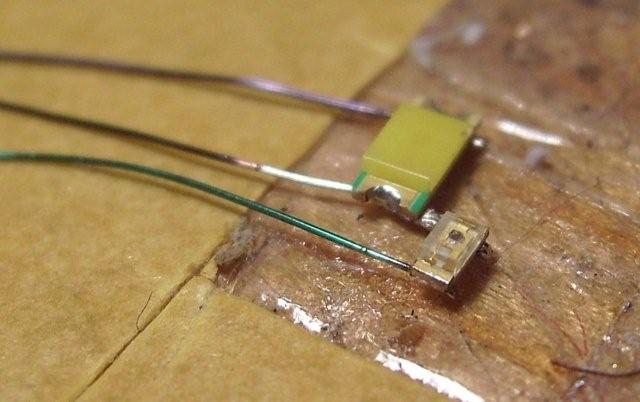
Same is done for the head lights and indicators. The “big” LED is a warm white 1206 LED. They are expensive but have a very nice colour.

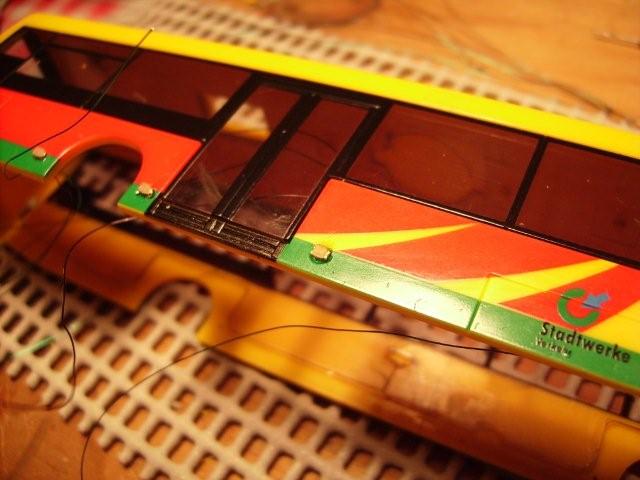
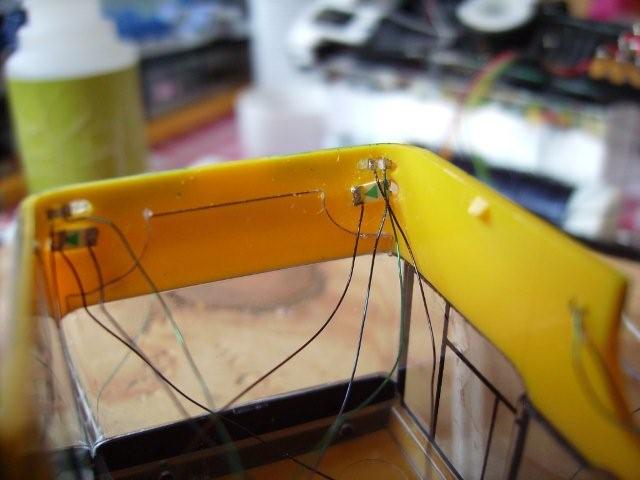
This time I drilled a small hole in the side and glued the LED’s on the outside. This is not very hard to do. A disadvantage is that the LED’s are very vulnerable. On a other bus I glued them on the inside. Much nicer!

Ok, it’s getting messy already.

Tail lights fit nicely in the prepared cavity.

As do the head lights.

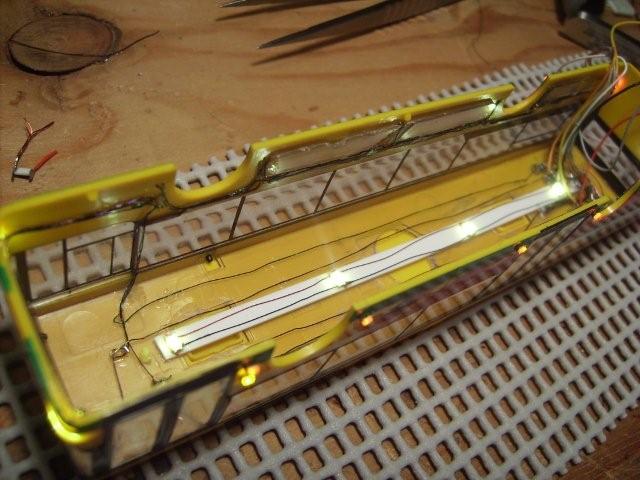
Wires of the side lights are glued to the inside. I tried to make a little channel to prevent them sticking out. This bus will have removable batteries on the inside, it will be disassembled a few times.

The white rubber underground is a rubber underlayment for a carpet. It is to prevent scratches on the bus (and the table). Just be carefull: don’t leave the bus on it too long (more than a week). The rubber damages the delicate paintwork eventually.

Some light for the passengers. Again the warm white LED’s. On the right side you see a collection of SMD resistors. I had to tweak them a few times to get the desired relative light levels.

The result

comparing motor and gears

After adding decoders to a ready to run Faller Car System Car the next challenge is to completely build a car yourself. The truck or car to fit your landscape is probably not in the Faller catalog anyway.
To do this you will need a steering mechanism, a motor and gears. I have tested some gears and want to share my opinion with you.

Faller Setra

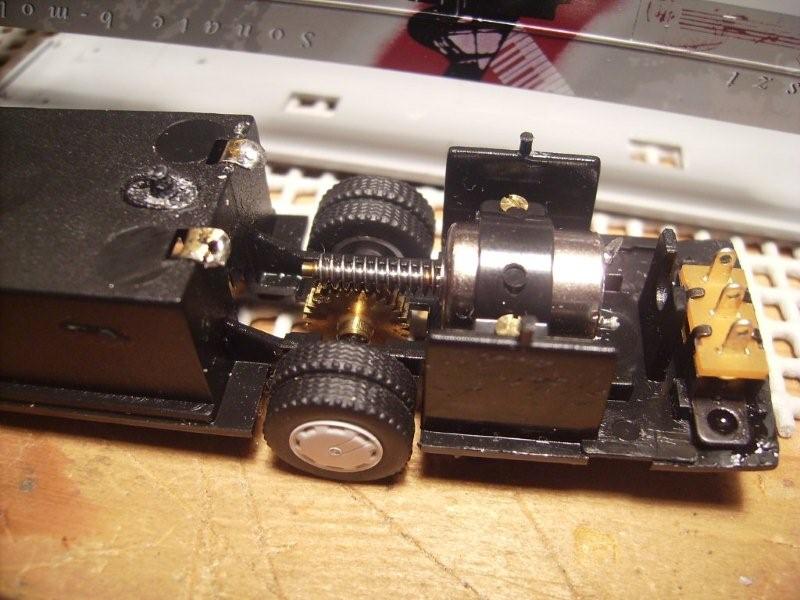
First in line is a standard Faller car. This is a motor and worm gear from the Faller Setra bus. This is the luxury set which includes head and tail lights and has beautiful white (according to the picture) interior lights. About the lights I will write later.

The worm gear in this bus is an improvement. Older buses I have seen have a very delicate construction which tend to break after a few hours. This construction is much better.
The motor sounds like we are used to, it behaves reasonable. The bus runs at a blazing speed!

In the picture you will not see any cables, they are all removed in preparation of the dinamo MCC decoder.
Lemo-Solar

The first self-made trucks I made in 2007. In those days the only decent gears i could find were the Lemo-Solar gears.

German details: Micro – Glockenankermotor mit Getriebe 15:1
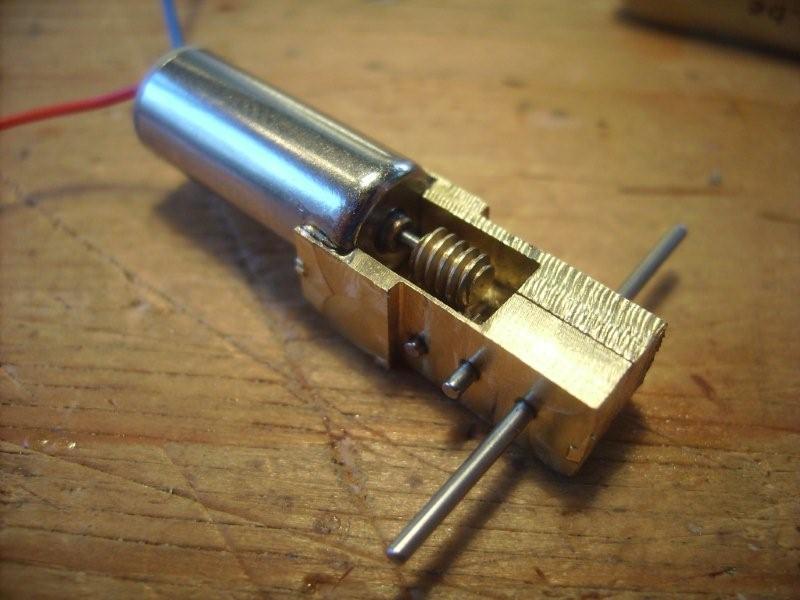
Antrieb bestehend aus: Glockenankermotor 1016N003G, Winkelgetriebe 15:1 mit Schnecke und Schneckenrad ( Messing ), Doppelachse.
Als Antrieb faller Modelle M 1:87 oder Modellbauantrieb, Modelleisenbahnantrieb. Betriebsspannung 0,5 – 6 Volt, 18-280 mA, Masse: ( L x B x H ) 26 x 10 x 12 mm, Gewicht 10,7 Gramm, Abgangsdrehzahl 4,8 Volt = 1500 Upm, 3 Volt = 840 Upm, 1,5 Volt= 420 Upm.
11432b

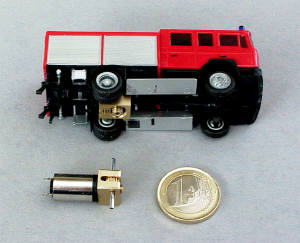
This gear costs 46 euro excluding shipping (from Germany). This is a very expensive set. The motor is a real Faulhaber.  It delivers a great deal of torc and takes a lot of electric current. We had to ad extra condensators to keep the power supply stable. It was distorting the reception. Technically speaking a good motor.

After using it intensively, as we do at Railz Miniworld, we find that the combination of a brass worm gear is not so good. The wear is disastrous. This is a very expensive set for the amount of kilometers it can run.

 Microantriebe

This is a motor I found at the webshop from Mikroantriebe.  The ordering went not without trouble. The first shipment never made it to my house. Only after numerous emails and threatening to make a PayPal dispute the second package was sent.835_0
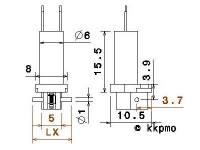
The motor of my choice was the “G20M660P Gearmotor with ratio20:1”. This one costs EUR 15,50. The cheapest motor I found ever. The English text on the website was very limited

If you switch to German you can find this:
“Getriebemotor mit 1 stufigem Schneckengetriebe. Gehause, Schnecke und Zahnrad aus hochwertigem POM gefertigt. Achse aus Stahl 24mm Dieser Motor kann z.B. mit unseren GWT Getrieben einfach zu 180:1 bis 400:1 Getrieben kombiniert werden oder z.B. direkt als z.B. Faller Car Antrieb eingesetzt werden”

The “POM” was not translated in English so to me it was a suprise to see that the gears are plastic, not metal. Of course POM is a very good plastic, not uncommon in gears. This could work. The picture (right) on the current website was not there in december 2008.RIMG0181
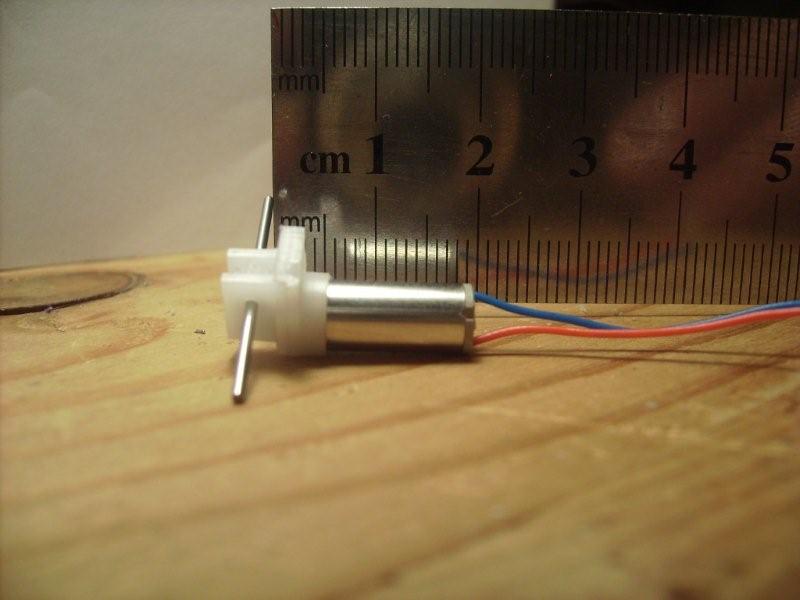
What catched my eye is the size of the little thing. Of course I had seen the dimensions on the website but never realized that it was this small.

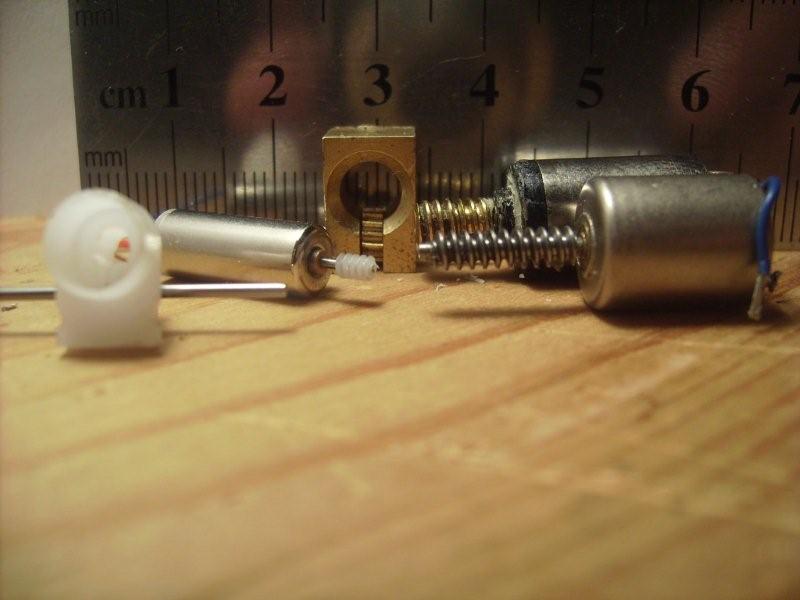
Look a the next picture where you can see the Faller motor, a Faulhaber and the little G20M660P.

This is to small for a H0 truck or bus. Maybe a n-scale bus of a small H0 car.
RIMG0185

The gear compared to a family car.

RIMG0188

Or my next project.

RIMG0186

Indeed, a fine match.

RIMG0192

Gear box kit G90 with motor M705

First alternative for the little G20M660P is this gear. The G90 with  M705 costs EUR 30,00 excluding shipping. Shipping from Germany to the Netherlands is 14 Euro!!!

To my suprise the gear is sold by Conrad too, EUR 29,99. If you pay with iDEAL shipping is free. It is the unfinished set, how hard can it be?

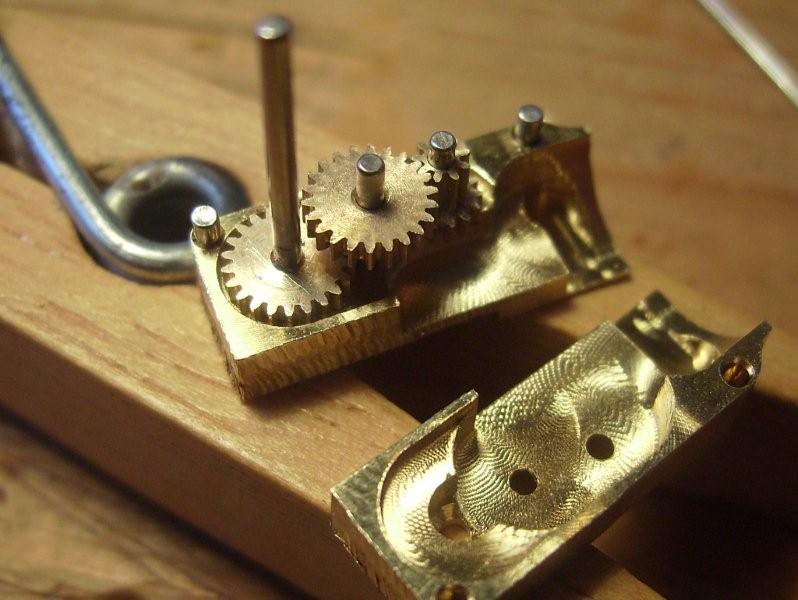
The set includes small holders to help with the construction, it also has very good instructions. No problem. The SolExpert advices to use the special  Loctide 648. A normal super glue will work fine I thought.
RIMG0199

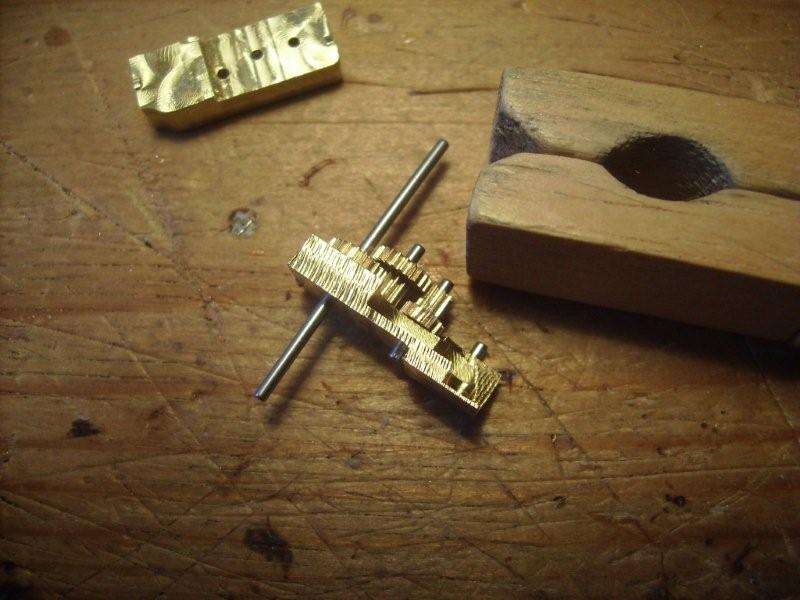
looks beautiful! real engineering, what can go wrong?
RIMG0198

And then reality hits in!

RIMG0201

After one (1) minute of action the main gear came loose. I had to completely remove the gear from the bus. Glued the gear again and put it back in the bus. This took two hours! Result: one minute of driving before it failed again.

The special glue is not available in any normal shop in my home town. The 14 euro shipping prevented my from ordering the glue in Germany. At ebay I found a small fake bottle of loctide for 5 pounds and 2 pounds shipping.  Within a week I was ready for a next attempt.  Got everything out of the bus, glued the gear to the axle and waited. Glued the gear and motor back into the bus and….The gear was holding but to my disappointment it was glued not exactly perpendicular to the axle. After 2 cm it was completely stuck! There we go again. This is starting to get irritating!

With a new and somewhat thicker axle i got the gear perpendicular on the axle. Build everything together only to find the next problem. The gears runs but not smoothly.

In my last attempt I completely removed all the gears, including the small ones, check every detail and found some tiny glue residue. After removing this and removing the very very small milling imperfections the gears were finally working.

Final result: lots of motor noise and a bus that runs to slow. The 1:90 gear ratio is too much.

This cost me a lot of money and time without a good result; please, if you buy this gear, buy it assembled form the German site.

MikroModellBau

The next alternative is a set of gears form MikroModellBau.

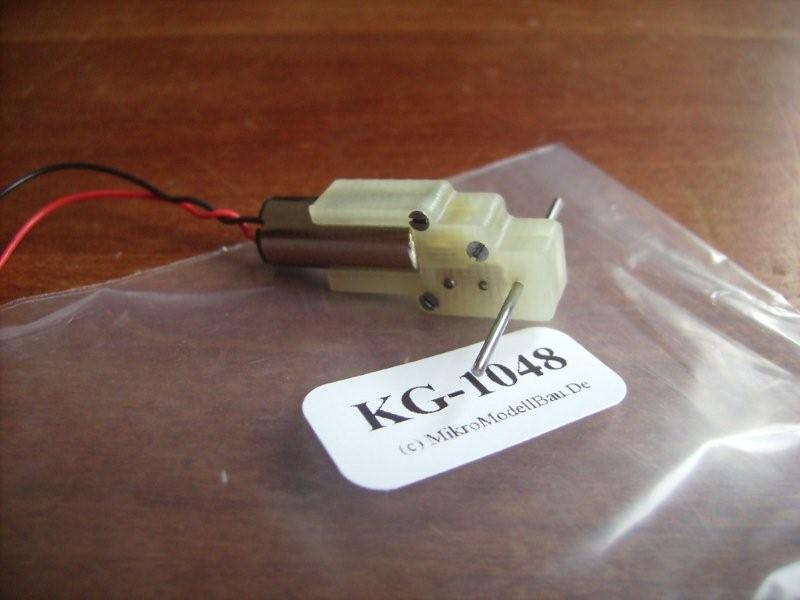
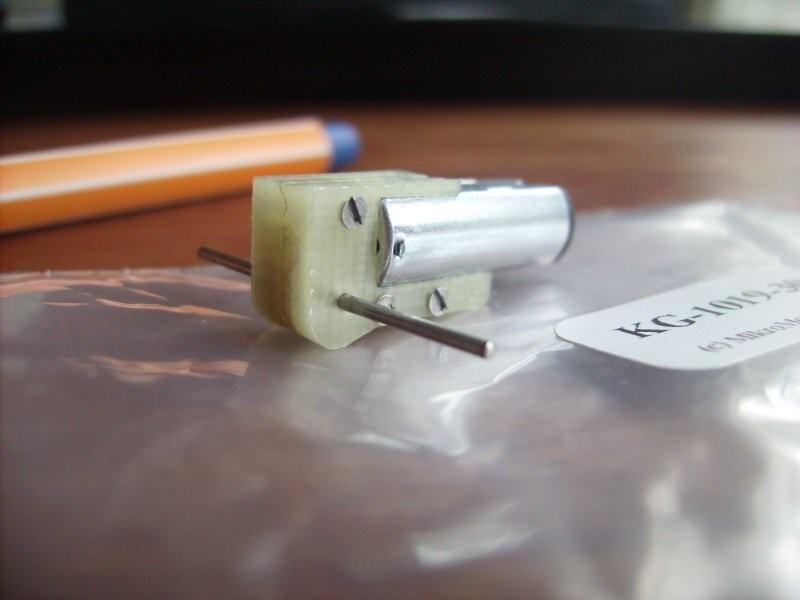
I ordered two models. The KG-1048 and the KG-1019-30-s. They cost EUR 31,50 and EUR 25,00. Shipping 3,50. A order is confirmed by a email including a paypal transaction. Perfectly on time.

The gears are already put together and work very smoothly. There are very clear instructions included. Especially how to shorten the axles without damaging the internal gear. Because of my previous experience I know how important this is!
RIMG0252

This second gear I tested in a bus. The flat top side is very good, the material glues very well.
RIMG0259

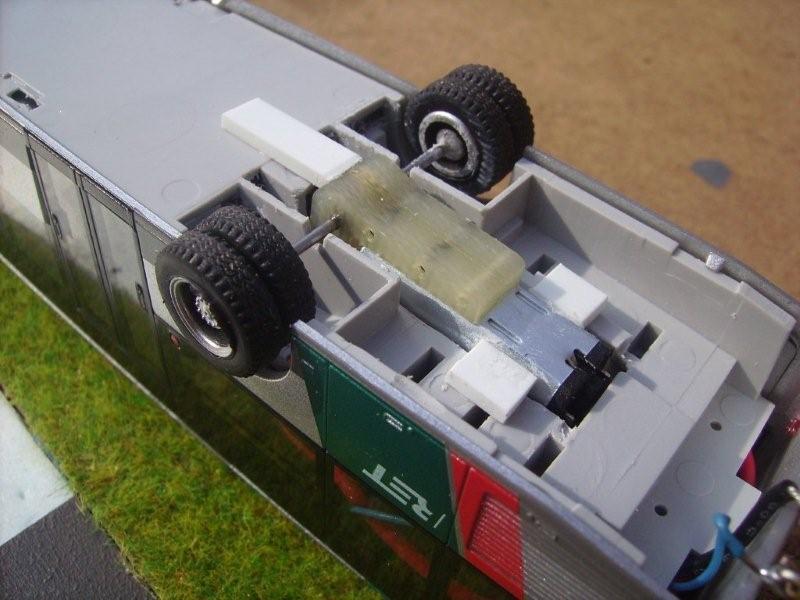
The speed is fine. The bus has somewhat smaller wheels and still it is a little fast. This will be fixed by adjusting the decoder. As you can see I decided to wait before shortening the axles.
RIMG0267

The first test run is a success. I’m finishing this one and make a 10 buses for Rails Miniword. We will see how long this gear will hold.

Conclusion

  • Faller gear and motor are fine, wear is horrible. Fine for at home but not suitable for Railz
  • Lemo-Solar. Very expensive, same wear.
  • MikroAntriebe G20M660P.Cheap but not enough power for H0 trucks.
  • SolExpert G90. Very hard to assemble yourself. Too slow!
  • MikroModellBau KG-1019-30-s. runs smoothly. First experience very positive.

Do you have experiences with these motors and gears, please let me know. If you want I can add your comments to this article.
Roadz Geest

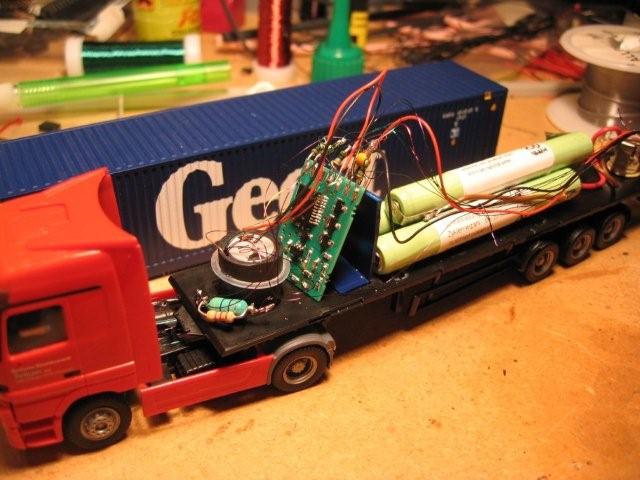
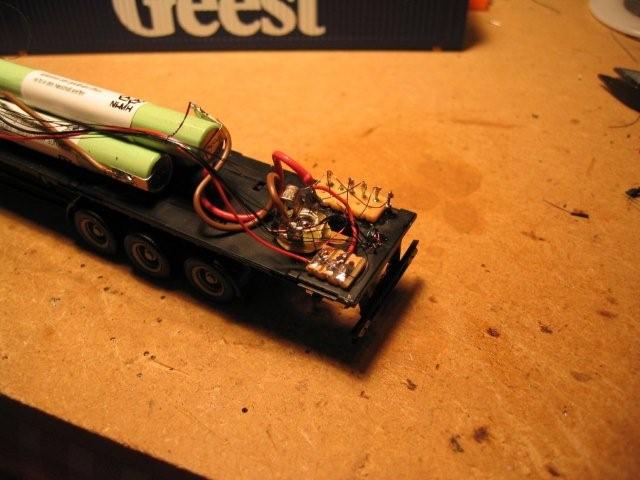
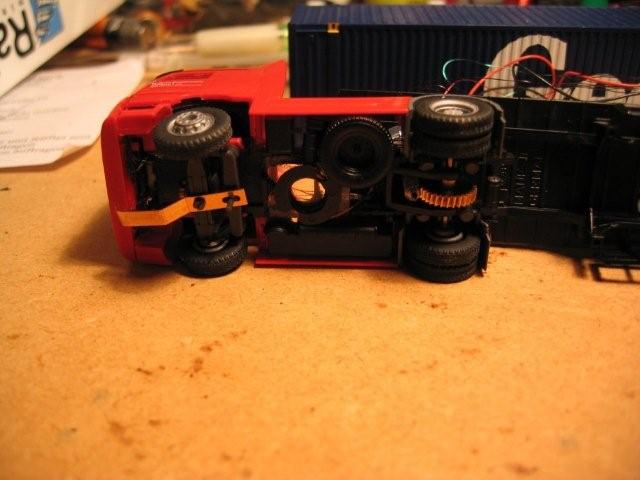
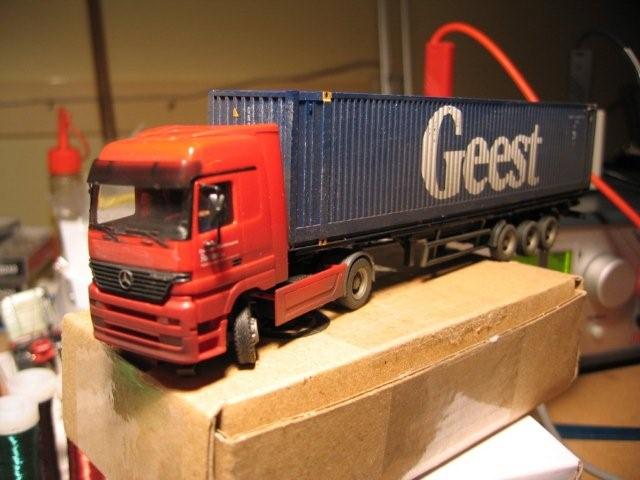
#03, Geest. Een beroemde auto uit de allereerste serie. Deze auto heeft ongelovelijk veel gereden bij Railz Miniworld. Als er publiek was reed deze auto minstens 2 Kilometer per dag. Op de container na waren ondertussen alle onderdelen al vervangen. Na een binnenbrandje heb ik de resten aan elkaar gesoldeerd en de motor er uitgehaald. De auto staat nu ergens stil op de modelwereld met de lampjes te knipperen. Een rustige oude dag voor deze veteraan.
Let op: de gebruikte technieken zijn nu niet meer actueel. Deze eerste serie zijn echt prototypes geweest.

De lakdraad loopt vanaf de leds, langs de motor helemaal door naar de decoder. Verderop lees je waarom dat niet zo’n goed idee is.214_1443

214_1444

Aan het interieur en de chauffeur wordt ook gedacht.

214_1449

Zie hier de eerste generatie decoders. Het  zijn nu verzamelstukken geworden.

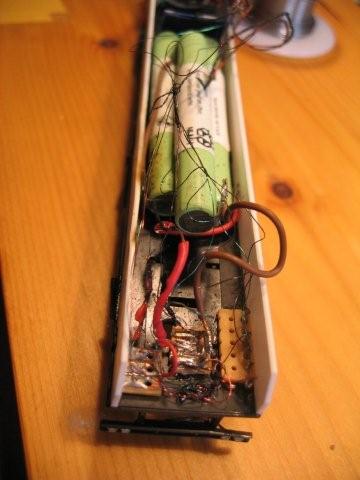
Zo’s zee van ruimte en dan toch de decoder op zijn kant! Dat wat om de decoder toch aan de voorkant te houden EN de accu’s zo ver mogelijk naar voren te houden om het gewicht op de aandrijfassen te krijgen.

De accu’s zijn 3x700mAh naamloos met soldeerlipjes. Nu gebruiken we twee cellen, dat is met decoder 2.0 voldoende.214_1455

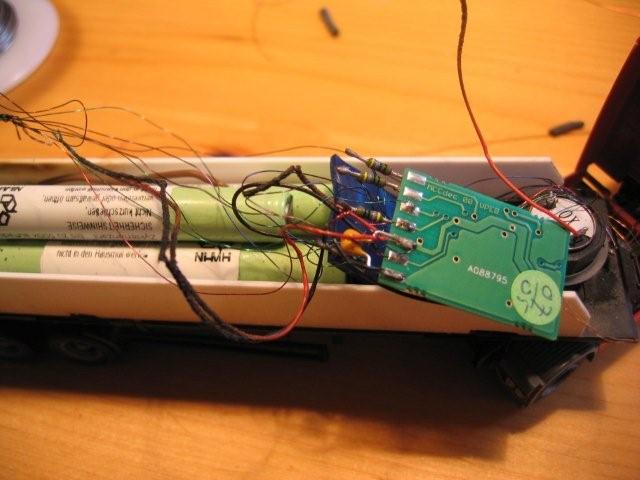
Ook zo’n test: laden met een mini-jack plug. Groot nadeel: tijdens het aansluiten maakt de stekker even sluiting. Deze methode is nooit in productie geweest. Let op de briljante manier om even snel een kabelbindertje te maken, een klein lakdraadje getwist om een paar andere lakdraadjes.214_1456

Een eenvoudig spoeltje, niet zelf gemaakt. Het reed-contact liet ik nog zitten.214_1459

Een airbrush actie van Hein. Dit maakt het wel een stuk realistischer.214_1463

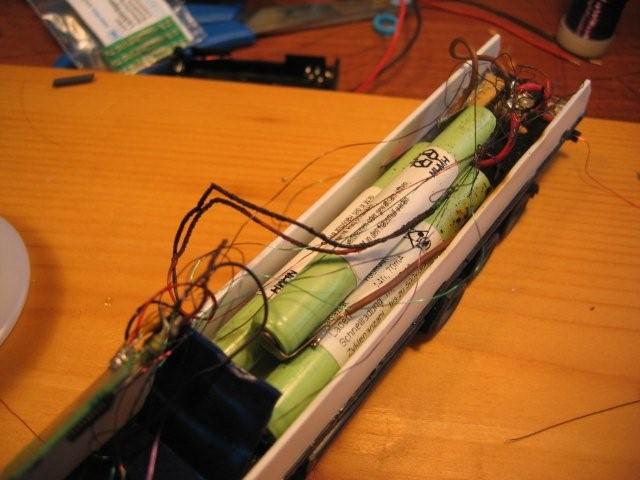
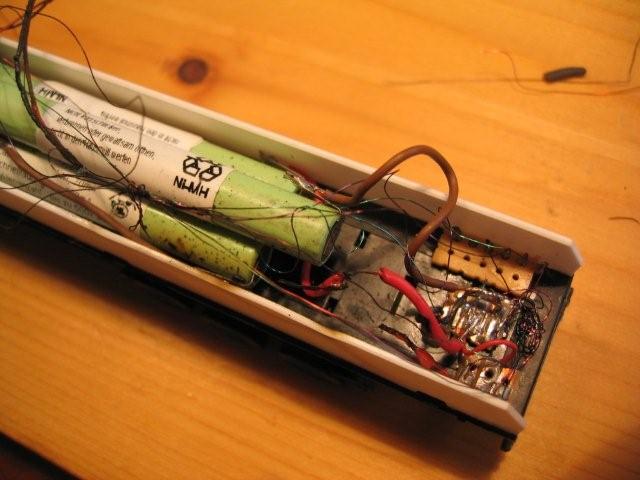
Herinner je nog dat briljante kabelbindertje? Dat heeft ook zo zijn bijeffecten. Lakdraadjes zijn erg fijn om aan een LED te solderen. Ze zijn echter erg gevoelig voor slijtage. Het constante bewegen en trillen heeft er toe geleid dat de isolatie versleten was zodat er kortsluiting kon onstaan.
Tijdens het laden zijn alle draden verbrand!224_2417

Vraag die nog openstaat: waarom is de oplader doorgegaan, we hebben zo’n slim apparaat. Had die niet kunnen zien dat de hoeveelheid stroom niet binnen de normale grenzen lag?

224_2418

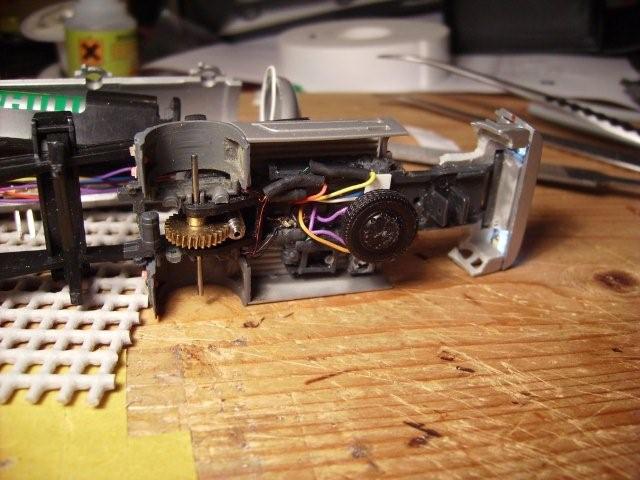
Naast het kabelbindertje bleek later ook dat het niet zo verstandig is om de lakdraadjes langs de motor te laten lopen. Zeker niet omdat deze bij elke bocht langs elkaar schuiven!224_2419

224_2420

Dat hebben we dan ook maar weer geleerd zeggen we dan.

Grijze tanker

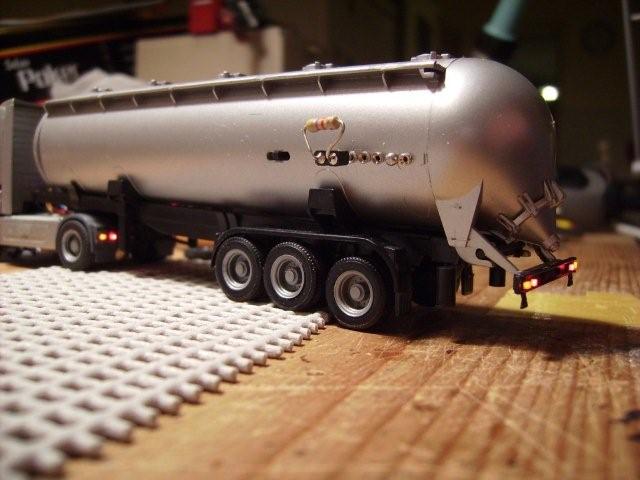
het is alweer een tijdje geleden, ik had weer een tanker auto meegenomen uit de onderdelenbak bij Railz Miniworld (nu: Miniworld Rotterdam).

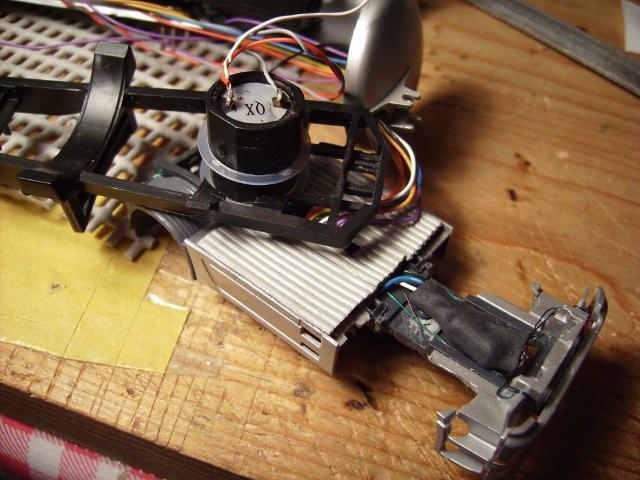
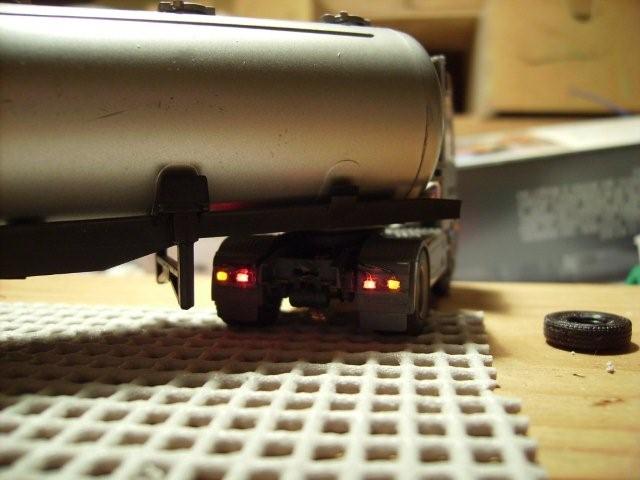
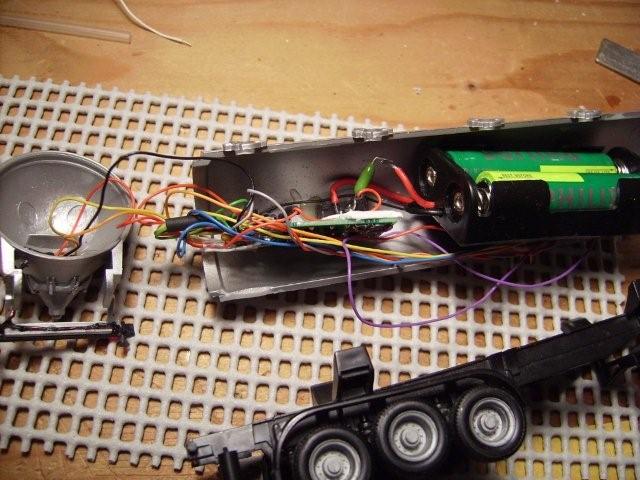
Anders dan de vorige keer heb ik nu de bekabeling vanuit de tanker niet vlak langs de motor laten lopen maar heb ik aan de voorkant van de tanker een gat gemaakt. Een stoere (gekleurde 😉 ) kabelboom is het effect. Het vloertje is een stukje geknipte lintkabel, altijd handig om iets mee af te werken.

De grote truc is om vooraf 100.000 keer de lengte van de kabeltjes te controleren. Op het laatst klikt alles in elkaar en kan je er moeilijk (niet onmogelijk) meer bij.

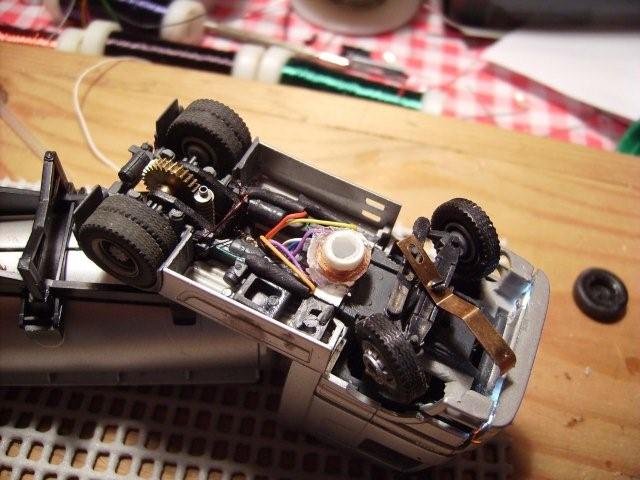
Het spoeltje zit verstopt achter het reservewiel.

Zie hier het mooie vloertje van de lintkabel. In de zwarte klont onder de cabine zit de spoel/weerstand combinatie voor de witte leds. Dit is een van de laatste auto’s die ik met decoder 1.1 maakt. Met de 2.0 decoder is dit niet meer nodig!

Het spoeltje moest los en verder naar achter. Het slepertje liep er tegenaan.

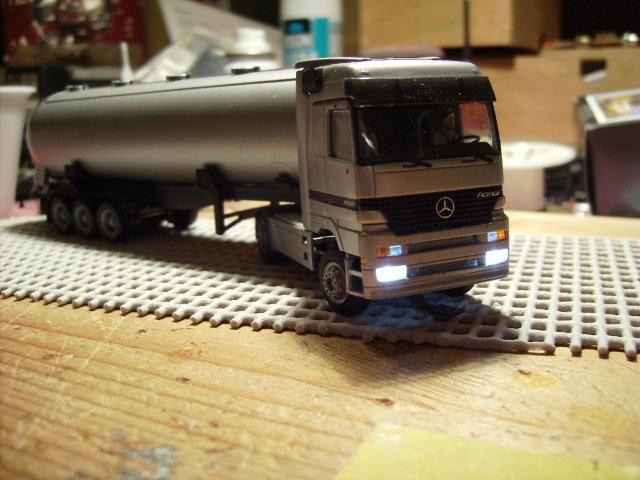
Het resultaat:

RIMG0059


Dinamo gebruikersdag 2009

In de DinaSys Nieuwsbrieven is aangekondigd dat er weer een Dinamo Gebruikersdag georganiseerd is. Dit jaar zijn we op 3 oktober te gast bij de HCC!m in Bilthoven.

Aanmelden kan via een speciale aanmeldpagina op de PiCommIT – DinaSys website

Je mag ook een mail sturen om je aan te melden. Stuur
– Je naam en woonplaats
– Je e-mailadres
– Of en hoeveel introducees je meebrengt; vermeld van elke introducee naam, woonplaats en e-mailadres van elke introducee
– Of je van de broodjesservice gebruik wil maken en hoeveel broodjes we in dat geval voor jou (en je introducees) moeten bestellen.